ESF fly tyer Keith Passant keeps it simple this month with a pattern that we should be carrying in our stillwater fly box.
Last time I showed you a couple of my favourites for just about any river and stillwater that you may try your luck on. That was KISS Mk1. Well this time I have another simple and very effective pattern for you to try. I guess we could call this article KISS Me Again!
Most people that fly fish will know one of the all time great stillwater flies - the Cats Whisker. Produced by a gentleman by the name of David Train the pattern soon became established as a fairly good bet for early and late season stocked fish. The colours of chartreuse and white have been used in hundreds, possibly thousands, of flies over the years and what it is that makes them work I don’t know. Work they do however. Based on the theme of the Cats Whisker a mate of mine and I played around with a fly and came up with the Apprentice. It was so successful they made a TV programme out of it! Or was it the other way around? Now the Apprentice is not a fly for the faint hearted. It’s weighted. VERY heavily weighted. And I am sure that it is the key to its success.
A few years back I had the chance to fish a lake where stalking the fish was a popular method of fishing, so with the well-weighted fly on board that’s what I began with. Horror of horrors. The fish spooked at it! Eventually I worked out that the size of the fly was part of the problem and using a stalking bug I eventually got the fish. Now however I wanted to transfer the ideas behind the Apprentice to a smaller version. The birth of the Junior Apprentice was nigh!
As I have said it’s a real easy pattern to tie. Not a lot of materials required and a few can be whipped up PDQ.
The materials for the fly are:
Hook: I use Kamasan B175s in a size 10. (Weight)
Thread: Green Fluo Tying Thread.
Eyes: Bead chain or dumb bell eyes (Weight)
Tail: White Marabou.
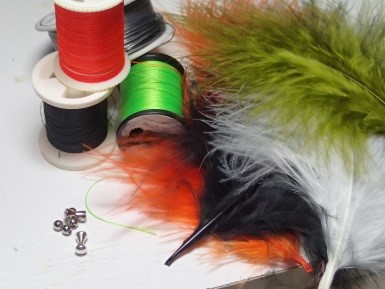
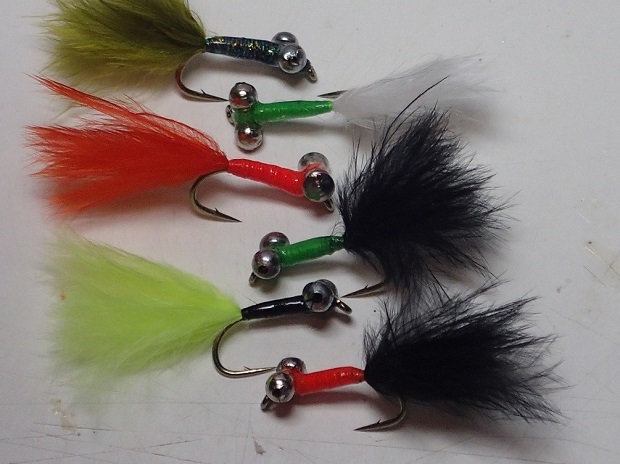
As you can see from the above picture other Junior Apprentices are available!
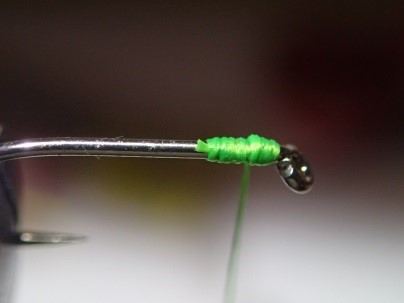
Hook in the vice and start your thread. Now this is a minor but important point. I start the thread behind the eye of the hook and take about 4 turns down the shank. I then start to make a small bump of thread as in the picture below.
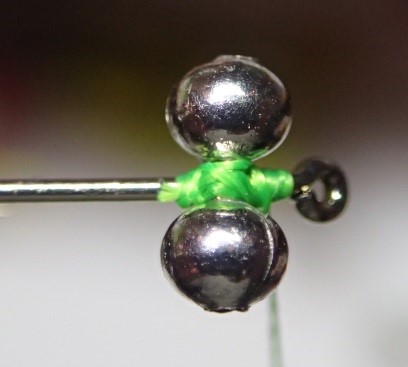
My reason for doing so is that when I tie in the eyes the bump stops them sliding forward and ending up in the wrong position. This is how I want them to sit:
Varnish the turns of thread and then run your thread in touching turns to the position opposite the barb and tie in the tail. We want to create a good base for the body shape and the remains of the marabou will be tied in all the way along the shank up to the back of the eyes like this:
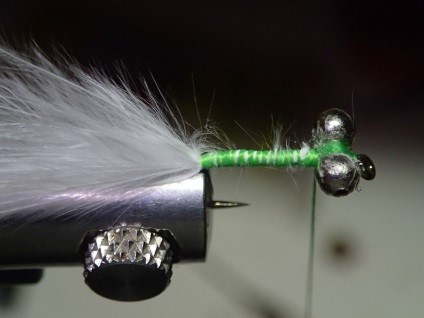
Form a carrot shape for the body by running the thread up and down to produce this effect:

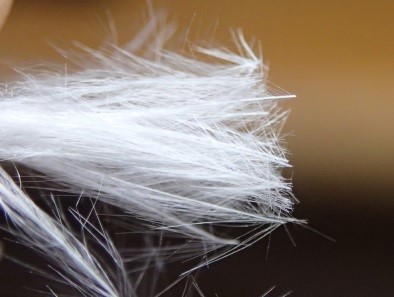
Nothing extreme so far eh? The next stage is to shorten the marabou tail. I want it about the length of the body of the fly but I also want it nice and full. When you choose the fibre from the feather it needs to have enough substance to produce a decent tail but not have too much bulk. I usually cut the fibre off the stem and look for feathers that don’t have too much streaky tips to the feather. I would use this part of the feather as below.
Shortening the length is best done by tearing the fibres apart rather than cutting them.
This is the difference:
Ripped
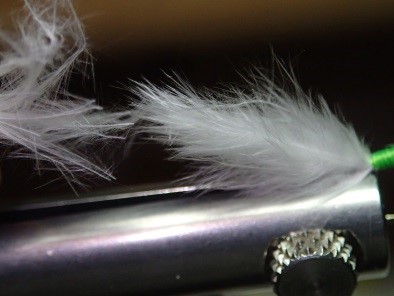
Cut
The final part of this fly is to varnish or coat the thread wraps. I used to use good old Sally Hanson’s but now use one of the UV light cured treatments. Purely for ease on this fly and it only needs one coat. It also adds more weight and helps the fly get down to the fish quicker. Variants have also been spawned over time and they all work too.
More from Keith HERE