This month’s fly is certainly not one for the purist and will not be everyone’s cup of tea. But if you fish the ‘klink and dink’ or duo as it is sometimes called this fly certainly has a place in your armoury.
Although the fly takes on all the tying methods of the original Klinkhammer to call it that does the original a huge injustice. This is a bastardised Klinkhammer tied to be used on the whole as an indicator hence the extra buoyancy in the foam and the loop tied in at the bend.
If I were using the ‘duo’ method in conditions where I felt there was a good chance of fish taking the dry as well as the nymph my top fly would not incorporate the loop or the foam as I feel both are not conducive to positive takes on the dry.
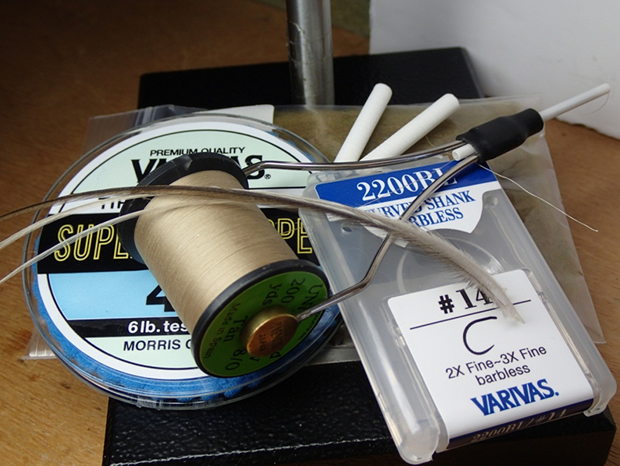
Materials
Hook – Varivas 2200bl #14 or #16
Thread – Uni 8/0 Tan
Dubbing – Superfine dry fly olive brown
Thorax – Orvis spectrablend nymph dubbing –dark sowbug
Post – 3/16 foam cylinders (the ones I use come from Fly Tying Boutique)
Hackle – Medium grey cape hackle
Loop - 6lb mono. Tying
Tying
There is quite a lot going on in the way of ‘lumps and bumps’ in the body of this fly. What with the foam and the mono loop a bit of care is needed to keep it all tidy. As with all flies, use a minimum number of turns to catch in the materials. Then a bit of time making sure the thread beds down to create a smooth taper before adding the dubbing ensures a neater body.
The hackle is surprisingly easy to keep tidy, as the foam unlike antron prevents the turns from creeping up the post something I find can be a problem with standard parachute patterns.
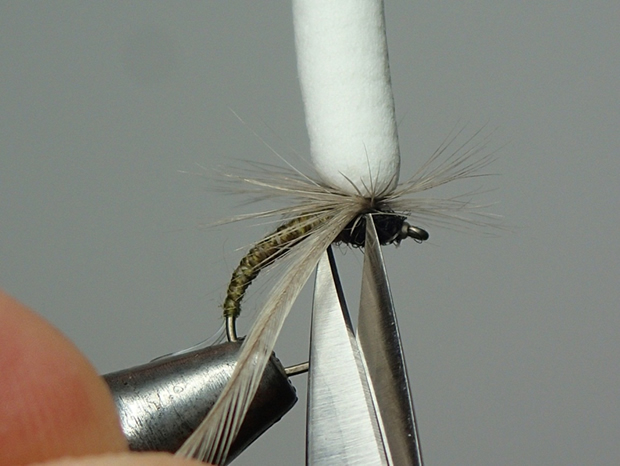
Finally make sure the mono loop sits on top of the bend and does not twist around the shank, if it sits on top at the base of the bend it acts like a mini boom keeping the tippet clear from the hook.
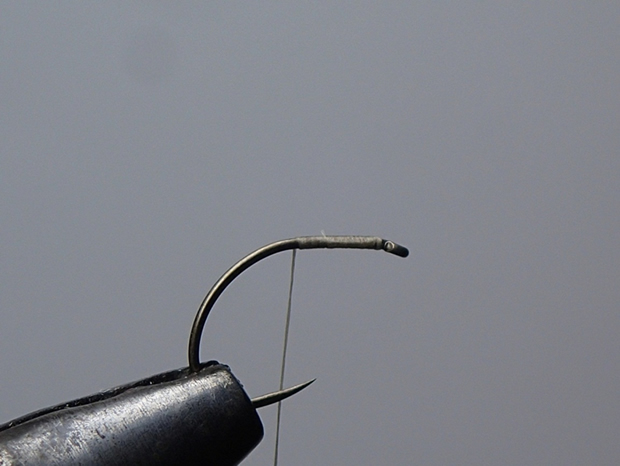
1. Vice up your hook and catch in the thread, wind touching turns on the shank until in line with the point of the hook.
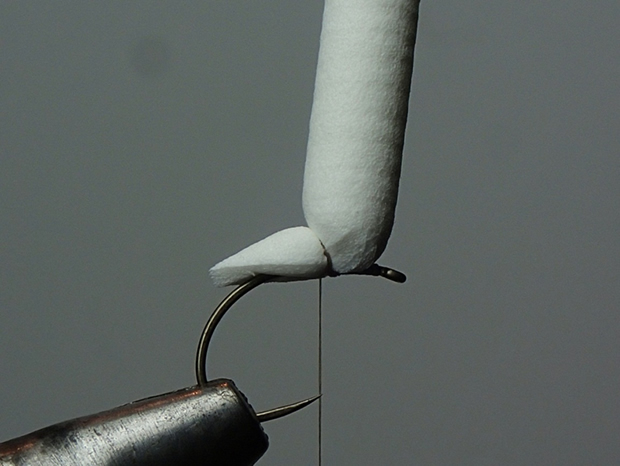
2. Take your post and trim at the base with a diagonal cut, this leaves a nice angled ‘tag’ to sit on the hook and less bulk to tie in. You can get more than one fly to these posts, but I trim the waste later as they are easier to hold in place full length.
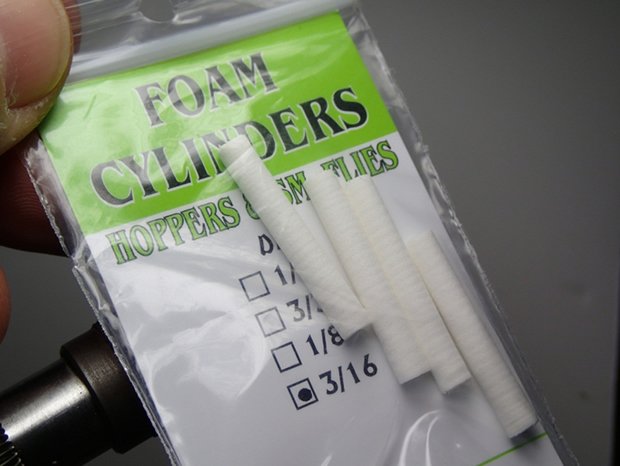
The foam posts.
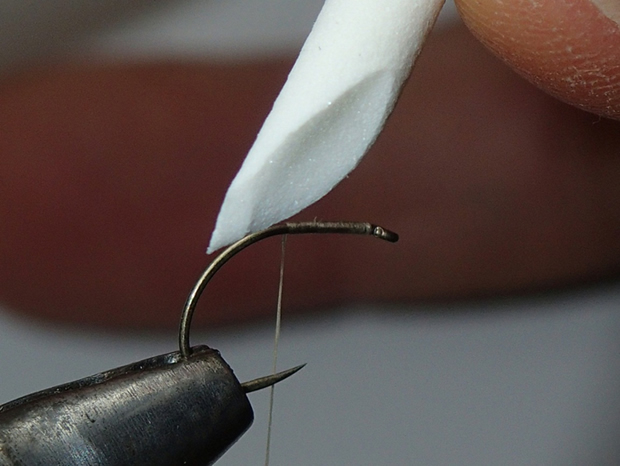
Trimmed to form a tag.
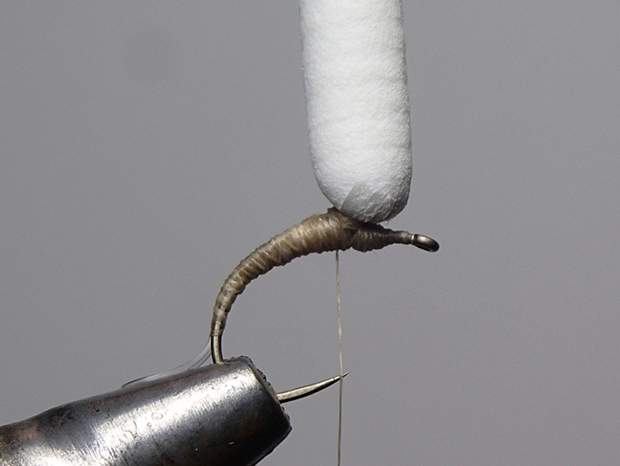
3. Lay the post on the hook so the start of the cut is in line with the point of the hook and catch in with two or three turns. When you are happy the post is in the right place, tie in the post with at first open turns then tight touching turns which must include turns in front of the post to stop the post from spinning on the shank.
4. The post will look and feel messy at first but the foam tag will eventually cover and compresses down to a nice and slim profile. What you will be left with is a post laying towards the eye of the hook. This can be made to sit up by building up the thread in front of the post and then winding around the post.

Loose turns at first.
All tidied up.
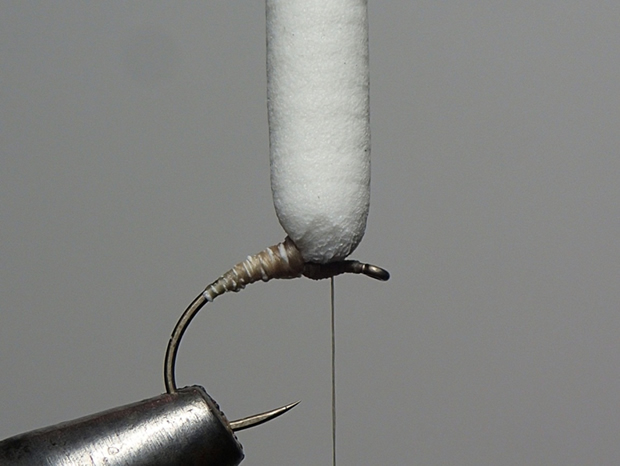
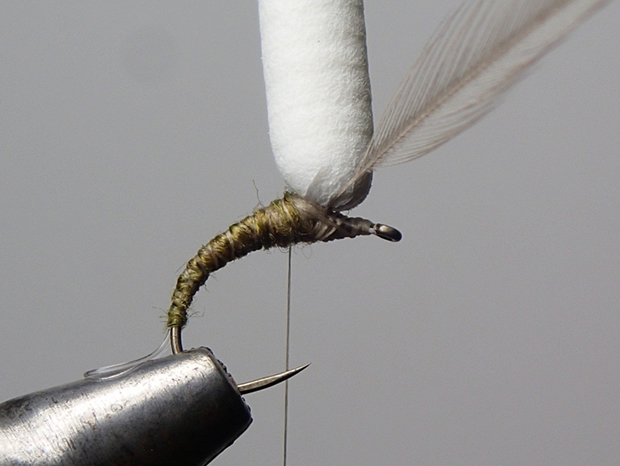
5. Take a short piece of the mono and form a loop. Lay the loop on the shank and tie in with a couple of turns. The idea is to tie the mono along the top of the shank around the bend leaving a loop of about 5mm in length. With just a few turns in place the loop can be adjusted to the right length by pulling the tag ends of the mono, ready to tie in fully.
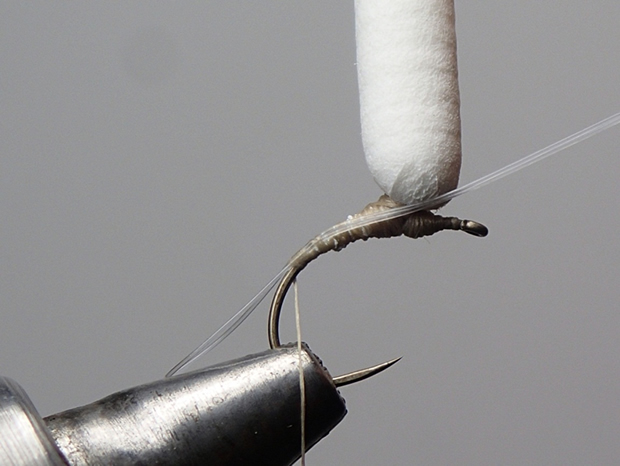
6. Tie back up towards the post, trim waste ends and tidy up making sure you have a smooth taper from the post to the bend.
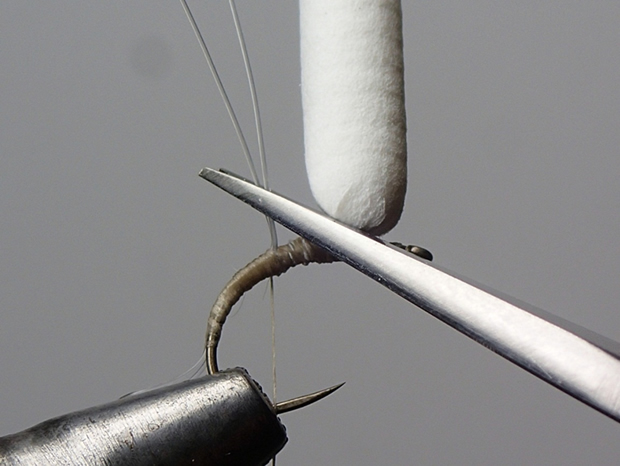
Trim.
Tie in waste to form tapered body.
7. Now select a hackle. I don’t like the fibres to be too long a rough guide would be 4mm to 6mm. Tie in the stem of the hackle around the post. I tie in the waste towards the eye then trim waste, return the thread and leave at the back of the post.
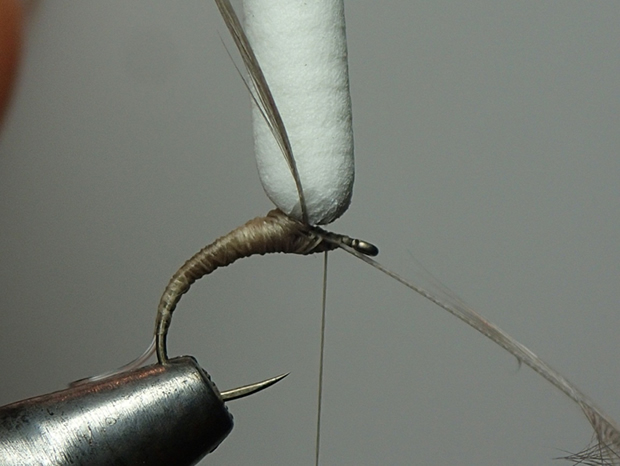
Tie in around post.
Trim and tie in waste.
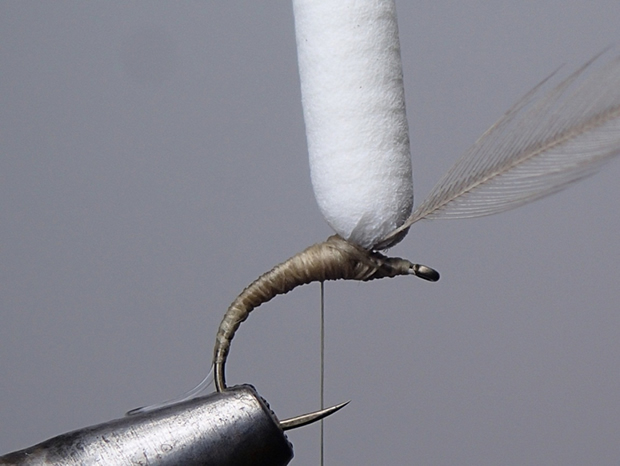
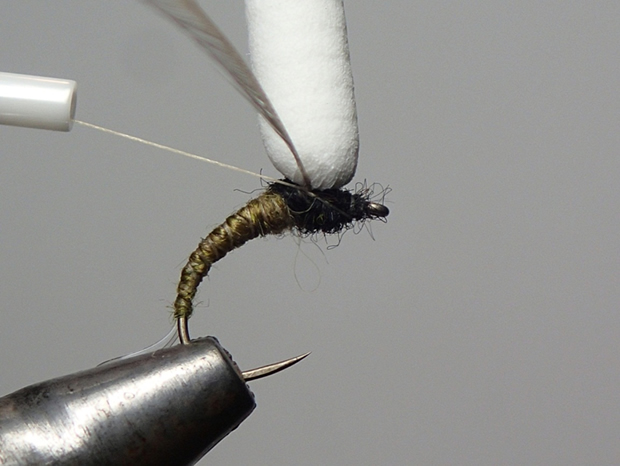
8. Lightly dub the thread being mindful you want to just cover the thread and leave a taper going down to just the mono on the bend of the hook.
9. Wind the dubbing down with just enough dubbing to leave just the thread at the base. Use the thread as a rib and rib back up to the base of the foam post.
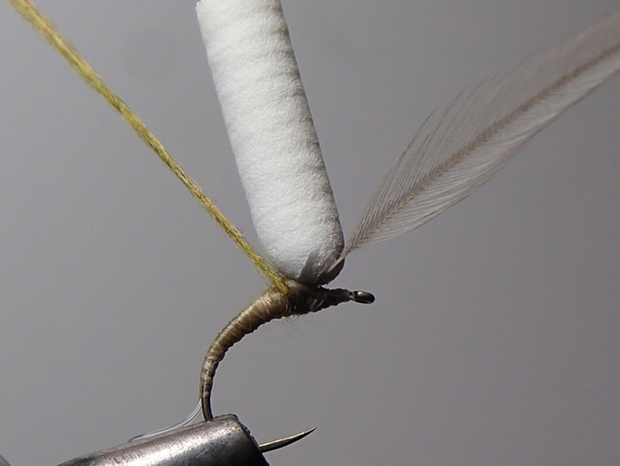
10. . Dub the thread with a pinch of the the dark sowbug.

11. Cover the thorax up to the eye and take the thread back to the post. Wind a couple of turns around the post and hackle.
12. Wind the hackle around the post nice and tightly making sure they bed in against the post, I find three or four turns enough.
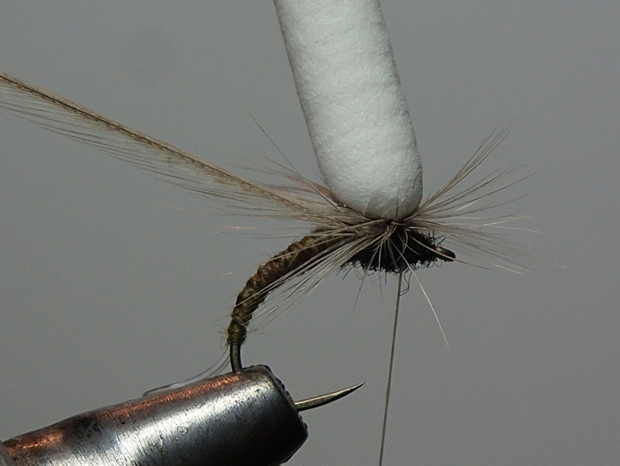
13. Tie in the hackle with the thread, making sure all the fibres are lifted up away from the thorax. Then take the thread back to the eye.
14. I now take the thread back to the eye and whip finish taking care not trap any of the fibres. Apply a drop of varnish to finish. If you prefer you can whip finish around the hackle. Trim the waste hackle.
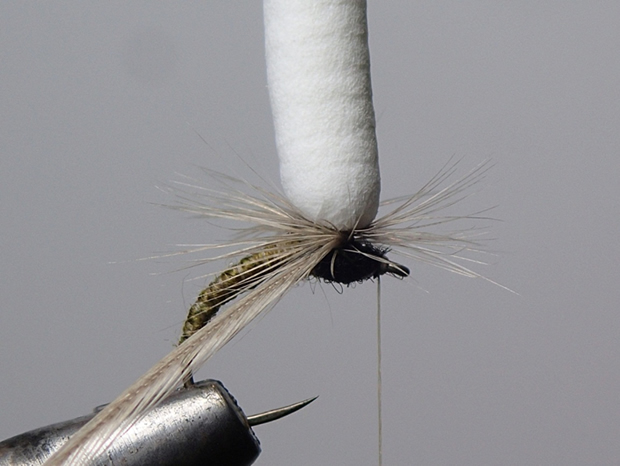
15. Now the finishing touches. Trim the post, I have found 5mm to 6mm is about right for me but feel free to experiment. Also as I have used tan thread (again down to personal preference) I use a marker pen to cover any thread showing against the dark thorax.
Quick touch up.
Trim the post.
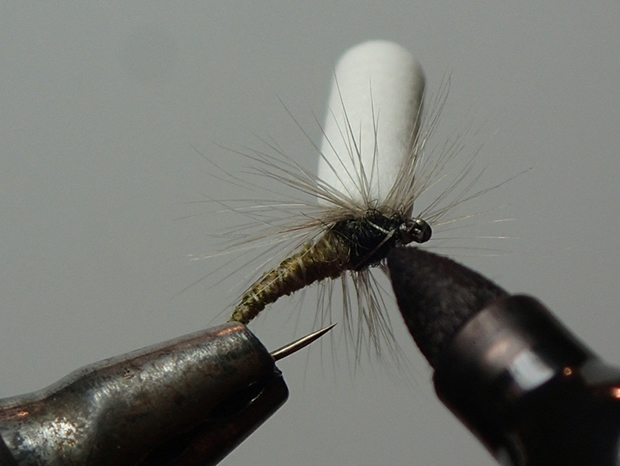
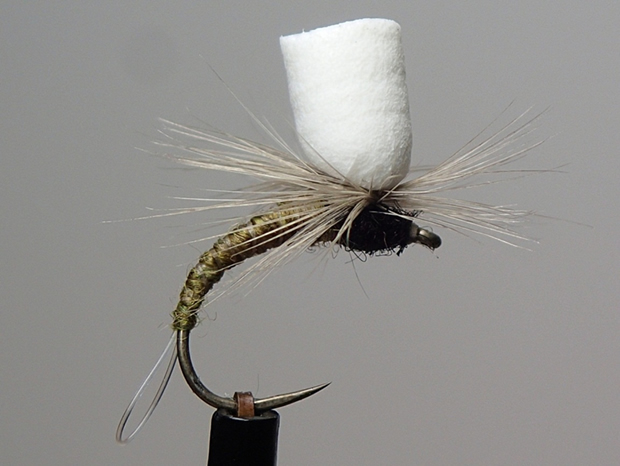
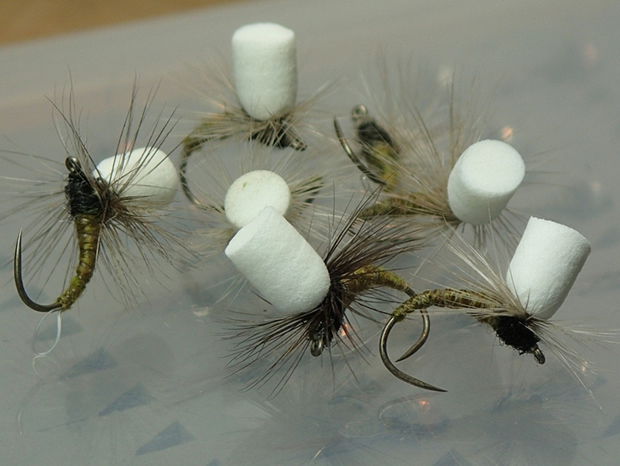
The finished fly
Look out for these…
- It’s a bit fiddly getting the foam post in place at first, but once tied in so it will not slip the foam tag covers and beds down with surprisingly few turns.
- Make sure the dubbing tapers down nice and fine to the point where the loop is to give the body a clean and tidy contour.
- Don’t oversize the hackle there’s no need the foam adds the extra buoyancy to hold up most nymphs. Too big a hackle just leaves a big ball of feather!
Ready for the box.
Summary.
This is a workhorse of a fly, bombproof and almost unsinkable. The loop of mono enables a fuss free attachment of the dropper. Using either a blood knot or loop to loop it is far less fiddly than tying to the bend or eye of the hook, a godsend in winter grayling sessions. That said, as mentioned before the effectiveness of the dry fly undoubtedly suffers.
Because of this the fly only becomes part of my duo set up when there is no surface activity. When there is I will use standard klinkhammers or deer hair caddis patterns to support the nymphs. Then the dropper will be attached through the eye of the hook or I will have the dry on a short dropper, leaving the hook bend and point clear from obstruction when takes occur on the dry.
A question I imagine some will ask is if I don’t think the fish will take the dry, why bother using a fly at all to suspend the nymph? Why not use an out and out indicator braid or curly mono for example?
Well some days I just feel the fly works better. 1… It certainly looks more natural on the surface than brightly coloured indicators, sometimes useful with spooky fish. 2… The fish will still take this dry (always expect the unexpected). 3… But most of all I think it is easier to keep the nymph at a constant depth throughout the drift with the ‘klink and dink’ compared with the inline braid or mono indicators. To get the best out of my nymphing I use ‘klink and dink’ alongside (as opposed to instead of) other indicators depending on what the conditions dictate.
As ever colours of materials are down to personal preference. The posts come in other colours including an orange which stands out a mile! The mono loop again can be changed to suit individual needs, for me 6lb is a happy trade off between durability and bulkiness on the fly.
As I said at the start of the article this fly is not everyone’s cup of tea, but with my favourite time of year soon to be here again the nymphs and indicators tend to come to the fore to get amongst the grayling.
I’m already digging out the long johns and fleeces and tying nymphs in all shapes and sizes itching to get the grayling fishing underway.
Have a great October.
You can contact Warren via email or call him on 07771 558 028.
