Nick Thomas finds fly tying materials in some strange places but the flies he ties with them look winners to us
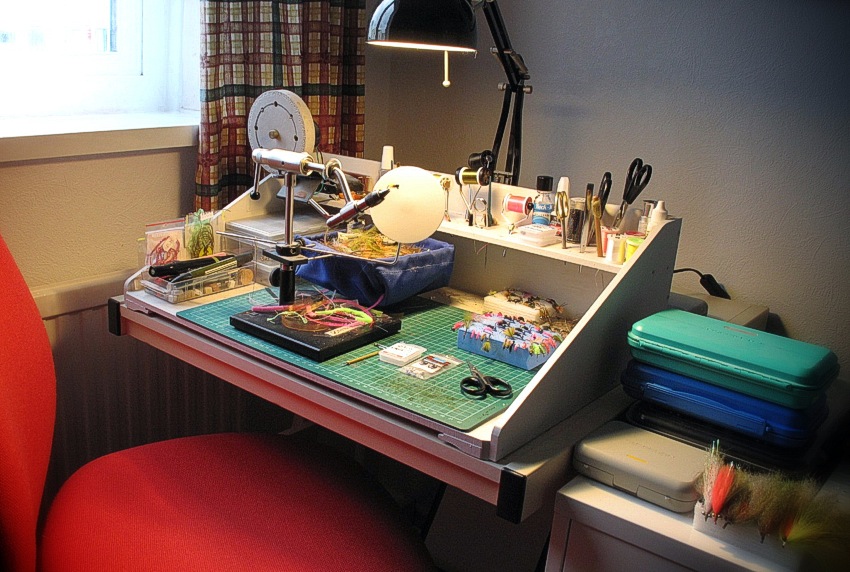
Next to my tying desk is a metal multi-drawer cabinet that stores all my materials. In the bottom drawer is a collection of stuff that has been saved as 'might be useful for something, sometime'.
These are not standard commercial fly tying materials but an eclectic mix of items scavenged from various domestic projects, packaging and other sources.
Now and again when I'm trapped indoors by crap weather or rivers in flood and my fly boxes are replete with my favourite patterns, I'll pull out the bottom drawer and embark on a freestyle tying session. I don't usually have any particular pattern or imitation in mind; I'm just experimenting with mixing different materials to see what works well together. Sometimes nothing comes of the improvisation, but on other occasions a new combination of materials comes together nicely and generates the spark to design a new fly pattern. Many of the flies I've written about in past issues of ESF originated in these experiments.
Freestyle tying is something I'd recommend to any fly tyer, whether they are experienced or just starting out. It's a great way of improving your tying skills and learning how different materials can contribute to making effective flies without being bound by the constraints of following a textbook pattern. Understanding how materials with different characteristics can work together in blending texture, colour and translucency to create an illusion of aquatic life good enough to fool a wary fish is knowledge well worth acquiring. It's often said that catching a fish on a fly you've tied yourself is far more satisfying that using a shop bought one. Catching one on a fly you've devised yourself takes things to the next level altogether.
One rainy day while I was rummaging about among the contents of the bottom drawer I came across a roll of Elasticity left over from repairing a bead bracelet. This transparent stretchy cord is available from craft shops in different diameters and a fairly cheap five metre spool will make a hell of a lot of flies. After a few experiments using the elastic with bits of other material fished out of the waste bin on my bench I found it worked very well with another craft shop material, organza ribbon. Winding the elastic in fairly close turns up a hook followed by winding a length of stripped ribbon in the spiral between the turns produced the beginnings of a very nice looking nymph body. Pulling the organza into the gaps between the turns of transparent elastic caused the short crimped fibres to stand out from the body like the gills on many nymphs. The colour and highlights of the organza blend with underlying colour of the tying thread as they are transmitted, reflected and dispersed within the coiled elastic. The end result is a very good approximation of the way the colours and shading of a semi-transparent natural nymph change in light and shade.
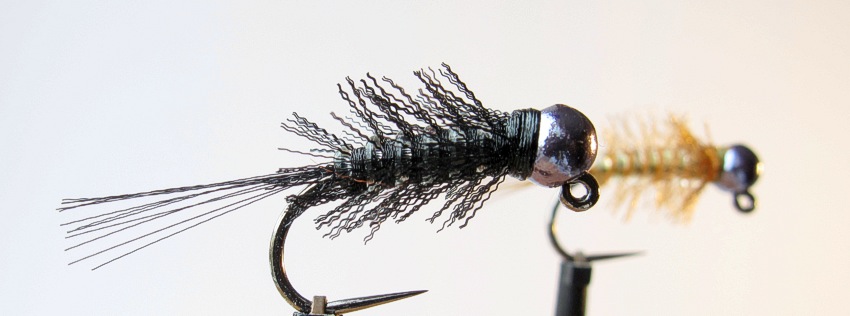
The first patterns I tied were some simple nymphs tied on jig hooks like the ones above. The tails were made from some of the long fibres stripped out of the ribbon prior to tying in the organza at the hook bend. One end of a length of elastic was then poked into the slotted tungsten bead and the material tied down back along the shank. Winding the elastic forward followed by the organza completed a simple but effective nymph from only two inexpensive materials.
Varying this method produced a nice looking and very effective Rhyacophila and Hydropsychid caddis larva pattern. A length of elastic was tied down the side of a Czech nymph hook, the thread brought back two-thirds of the way to the eye and a length of stripped organza ribbon tied in. The elastic was wound forward in touching turns to the organza to form the abdomen, the organza held out of the way and then the thorax made with a further three open turns of elastic before tying in at the head. The organza was wound between the open turns of elastic and tied in. Trimming away all the organza fibres apart from those under the thorax gave the illusion of the larva's legs and completed the fly.
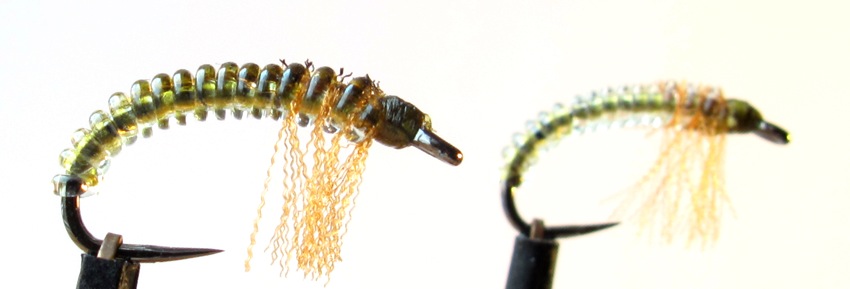
These examples of the caddis larva pattern were tied with olive thread, but since the majority of the body material is transparent, substituting green, yellow or brown thread will completely alter the appearance of the fly. The elastic can also be coloured with marker pens, either before or after tying in, to further colour or shade the fly to your own specifications.
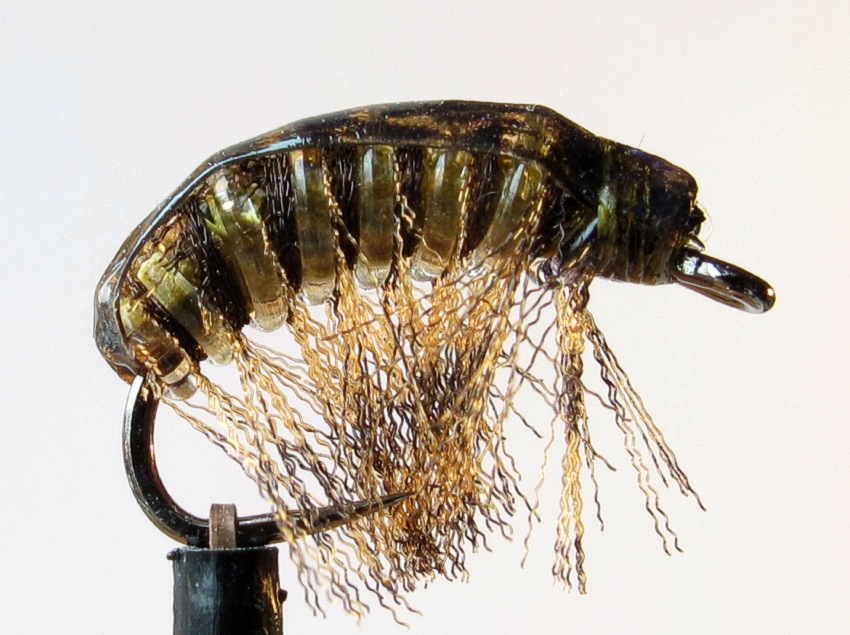
Further experimentation with these materials produced a pattern which has earned a permanent place in my river nymph box. On several occasions when taking off my wading boots I'd noticed shrimps skittering around on the ground and it had been on my mind for a while to come up with an effective imitation. I didn't want to have to use the complex fiddly tying methods or expensive UV resin and other materials which are used in many shrimp patterns to suggest the shape and transparency of the naturals. It's always a source of satisfaction to me to produce a good looking fly that I'll have confidence in fishing, didn't take me ages to tie and won't hurt my wallet when I lose a few in snags. In this case the key breakthrough was shading the organza ribbon with a permanent marker pen before starting the tying process. This heightens the illusion of segmentation in the transparent body and creates an illusion of jointed legs and feelers which are prominent features of the natural shrimp.
The Elastic Shrimp
Hook Curved Czech nymph or grub, size 10 to 14
Thread Veevus 10/0 olive
Body Elasticity 0.8mm diameter
Legs Stripped tan, gold or orange organza ribbon coloured with a dark marker pen
Back Nymph skin, scud back or other stretchable plastic
-
Run on the tying thread at the hook eye and take around the bend in touching turns.
-
Cut a tapered strip of nymph skin, tie in by the thin end and secure with touching thread turns back to 3mm from the eye.
-
Cut a 10-15cm length of elastic, catch in on top of the hook shank and bind down along the shank to the bend.
-
Cut a 10-15cm length of 9mm organza ribbon. Colour one woven edge with a dark marker pen and then mark two stripes parallel to the edge. Cut off the other edge, strip out the long fibres and cut away the short fibres at one end to make a tying in tag. Tie in at the bend.
-
Cut two pieces of elastic the length of the body and tie these in one after the other on top of the body. Use tight thread turns at either end to compress the elastic and looser wraps in between. This builds up the body on top of the hook avoiding obstructing the hook gape. Return the thread to the eye.
-
Wind the elastic up the body in touching turns stretching the elastic slightly at first and then easing off the tension as you approach the eye. Tie in and cut off the excess with an angled cut.
-
Wind the organza forward pulling it into the spiral groove formed by the wound elastic, tie in at the eye and trim off the excess.
-
Separate the organza fibres on top of the body and hold them down either side with a finger and thumb while pulling the nymph skin over the body. Secure at the eye with a few thread wraps, fold back and secure with some further turns of thread. Tidy up the head area, whip finish and cut off the thread. Stretch back the tag end of the nymph skin and cut off.
-
Slide your scissors along either side of the body and trim away all the organza fibres which are not pointing downwards.
-
Finish the head and back with a couple of coats of varnish.
Gammarus shrimps are one of the hosts in the life cycle of a parasitic worm which lodges in the gut of fish who eat the shrimps. Infected shrimps carry bright orange worm larvae within their body cavity and it has been shown that these shrimps are eaten by fish more frequently than uninfected ones. The parasites alter the shrimp's behaviour making them move about in open water where the orange coloration of their bodies make them more vulnerable to predation. If you want to tie a hot-spot version to imitate a parasitised shrimp simply tie in a strand of orange floss and make a few wraps around the body before winding up the elastic.
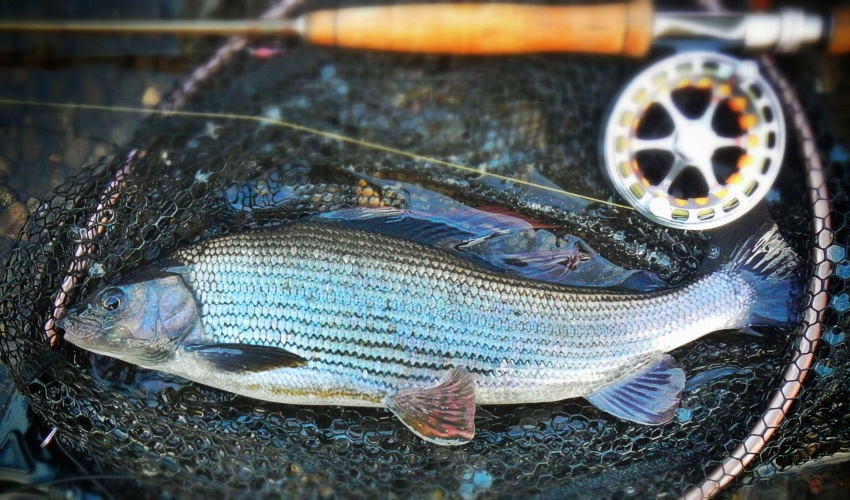
I've been doing a lot of my grayling fishing this winter using the elastic shrimp on a dropper a foot or so above a heavy pink OJO nymph tied on a jig hook with a 4mm or 4.7mm tungsten bead. The two flies have taken pretty well equal numbers of fish, but it's always been the shrimp that hooked the bigger warier fish.
Nick Thomas lives in South Wales. He started fly fishing on Scottish hill lochs many years ago and continues to design, tie and fish flies for trout, grayling, carp, bass and anything else that’s going.